Setting Up a Kafka Cluster: Step-by-Step Guide
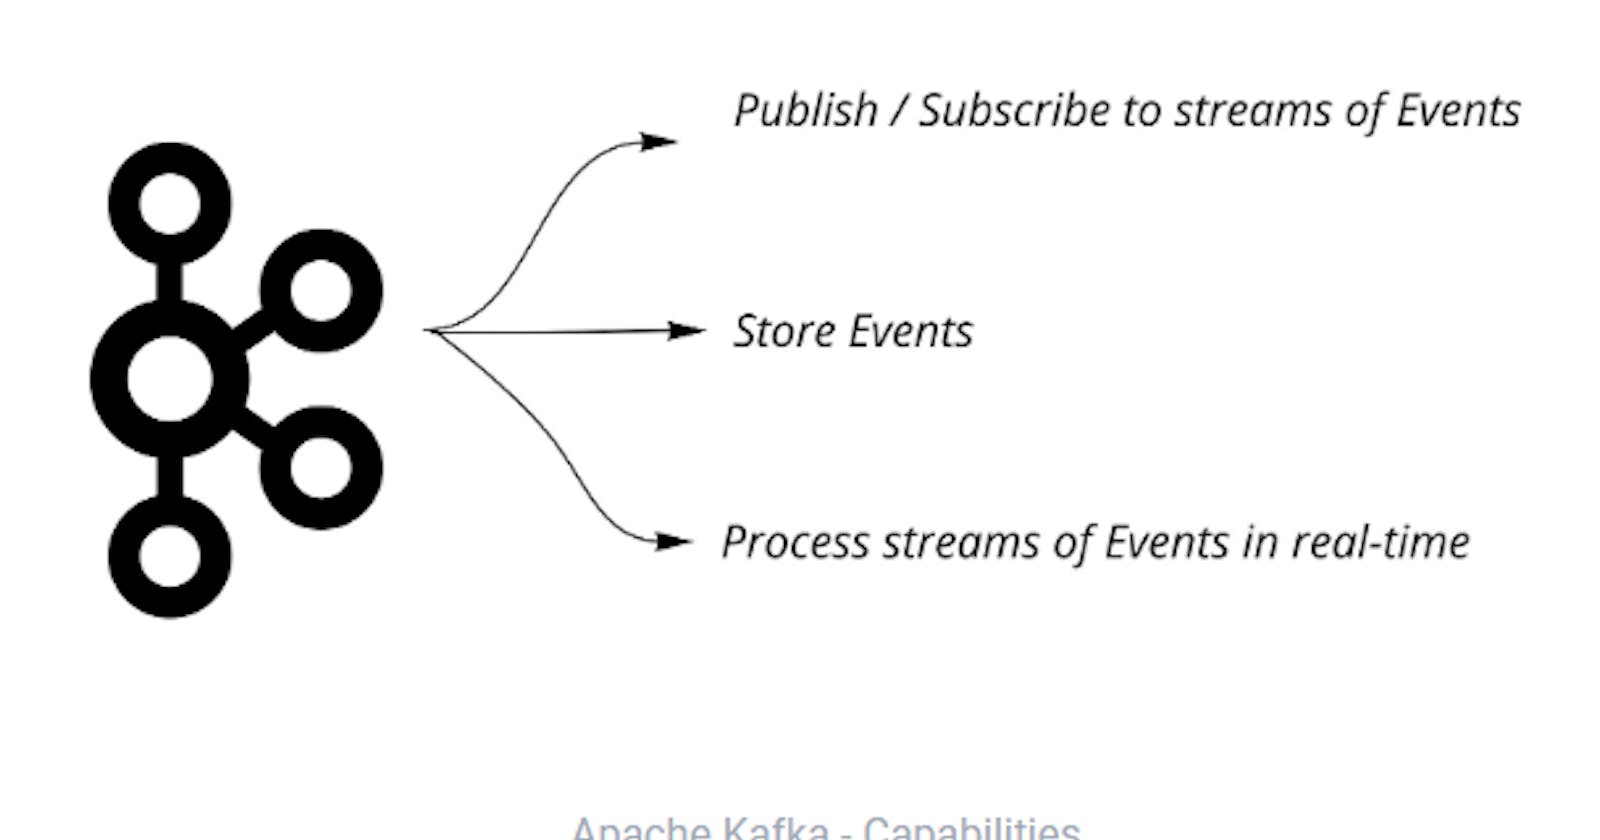
Apache Kafka is a distributed streaming platform that is widely used for building real-time data pipelines and streaming applications. Setting up a Kafka cluster involves configuring multiple components to work together seamlessly. In this step-by-step guide, we'll walk you through the process of setting up a Kafka cluster.
Prerequisites
Before we begin, ensure you have the following prerequisites:
- A Linux-based operating system (e.g., Ubuntu, CentOS)
- Java Development Kit (JDK) installed (version 8 or higher)
- Access to servers or virtual machines for hosting Kafka brokers
Step 1: Download Apache Kafka
Visit the Apache Kafka website and download the latest stable release of Kafka.
wget https://downloads.apache.org/kafka/<version>/kafka_<version>.tgz
Extract the downloaded archive:
tar -xzf kafka_<version>.tgz
cd kafka_<version>
Step 2: Configure Kafka
Navigate to the Kafka config directory and edit the server.properties file to configure Kafka settings.
cd config
nano server.properties
Update the following properties:
broker.id: Unique identifier for each broker in the cluster.listeners: List of comma-separated host:port pairs for Kafka broker to listen on.log.dirs: Directory path where Kafka will store its log files.zookeeper.connect: Zookeeper connection string (hostname:port).
Save and close the file.
Step 3: Start Zookeeper
Apache Kafka uses Apache Zookeeper for managing and coordinating Kafka brokers. Start Zookeeper service before starting Kafka brokers.
bin/zookeeper-server-start.sh config/zookeeper.properties
Step 4: Start Kafka Brokers Open a new terminal window/tab and navigate to the Kafka directory. Start Kafka broker(s) by running the following command:
bin/kafka-server-start.sh config/server.properties
Repeat this step on each server/VM that you want to run Kafka brokers on.
Step 5: Verify Kafka Cluster
To verify that your Kafka cluster is up and running, create a new topic and produce/consume messages.
Create a Topic
bin/kafka-topics.sh --create --topic my-topic --bootstrap-server localhost:9092 --replication-factor 1 --partitions 1
Produce Messages
bin/kafka-console-producer.sh --topic my-topic --bootstrap-server localhost:9092
Consume Messages
Open a new terminal window/tab and run the following command to consume messages from the topic:
bin/kafka-console-consumer.sh --topic my-topic --bootstrap-server localhost:9092
Conclusion
Congratulations! You have successfully set up an Apache Kafka cluster. You can now start building real-time data pipelines and streaming applications using Kafka's distributed messaging capabilities. Remember to configure security, monitoring, and other advanced settings based on your requirements for production deployments.
With this step-by-step guide, you can set up an Apache Kafka cluster and start building real-time data pipelines and streaming applications using Kafka's distributed messaging capabilities.
