Step-by-Step Guide to Setting Up RabbitMQ
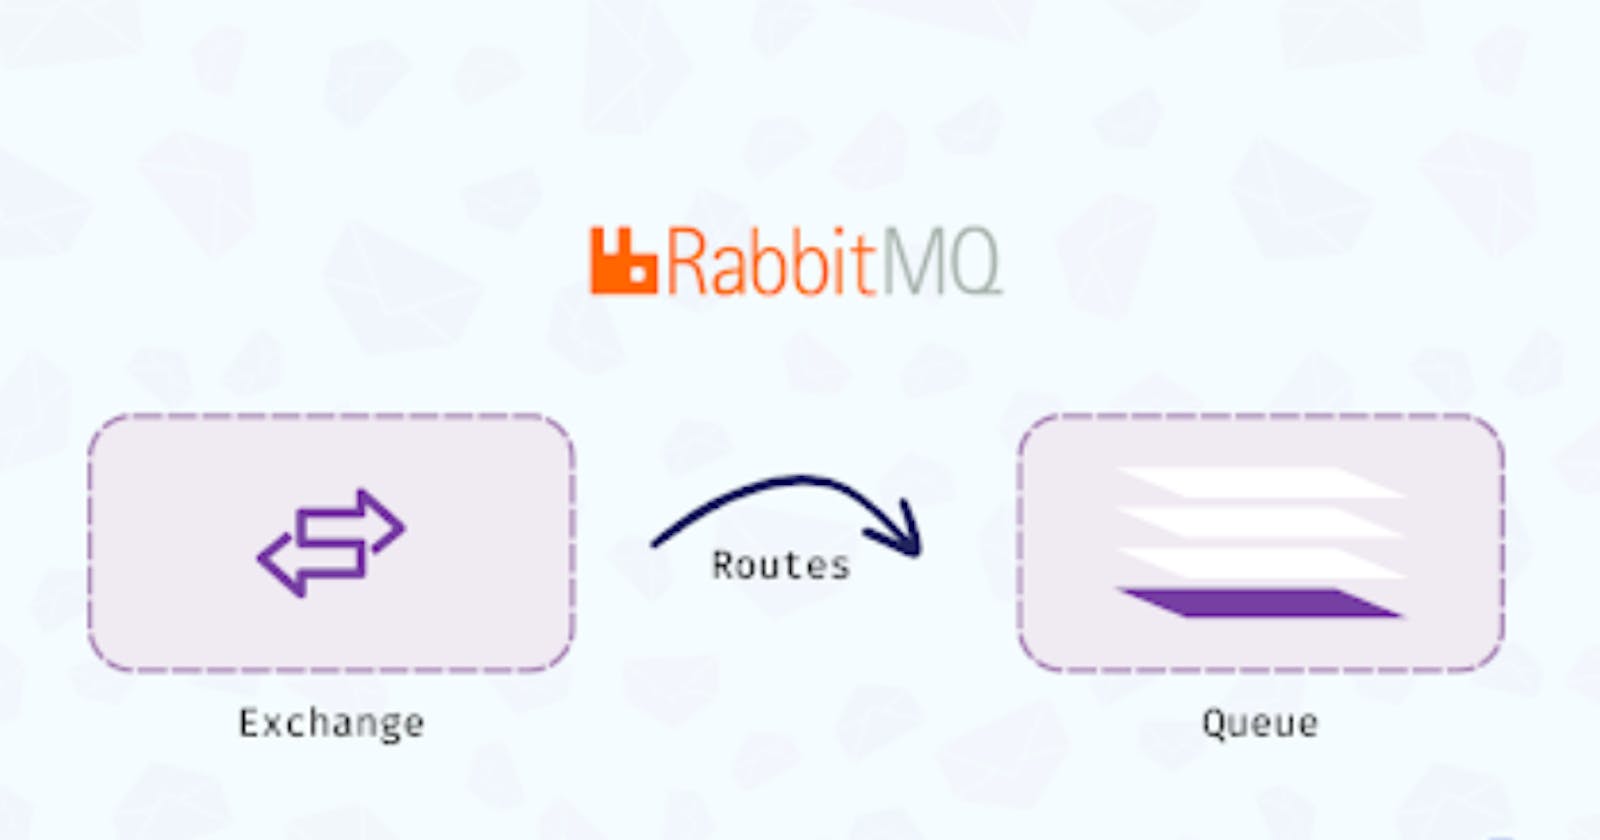
RabbitMQ offers powerful messaging capabilities, allowing developers to set up queues, routing keys, and bindings to facilitate communication between different components in a distributed system. In this section, we'll walk you through the step-by-step process of setting up a queue, defining a routing key, and establishing a binding in RabbitMQ.
If you have not yet installed RabbitMQ, please check our step-by-step article and come back here once you have completed RabbitMQ's installation.
Step 1: Access RabbitMQ Management Console
To get started, access the RabbitMQ management console using your web browser. The management console is typically available at http://localhost:15672.
Step 2: Log in to RabbitMQ Management Console
Log in to the RabbitMQ management console using your credentials. By default, the username is guest, and the password is also guest.
Step 3: Create a Queue
- Navigate to the "Queues" tab in the RabbitMQ management console.
- Click on the "Add a new queue" button.
- Enter a name for your queue in the "Name" field.
- Optionally, configure additional parameters such as durability, maximum length, and message TTL.
- Click the "Add queue" button to create the queue.
Step 4: Define a Routing Key
- Navigate to the "Exchanges" tab in the RabbitMQ management console.
- Click on the name of the exchange you want to work with (e.g., "amq.direct").
- Scroll down to the "Add binding from this exchange" section.
- In the "Routing key" field, enter a routing key for your messages.
- Click the "Add binding" button to define the routing key.
Step 5: Create a Binding
- Navigate to the "Bindings" tab in the RabbitMQ management console.
- Click on the "Add binding" button.
- Select the exchange from which you want to bind messages.
- Choose the queue to which you want to bind messages.
- Enter the routing key associated with the queue.
- Click the "Bind" button to establish the binding.
Step 6: Test the Configuration
Once you have set up the queue, defined the routing key, and established the binding, you can test the configuration by publishing a message with the specified routing key to the exchange. If everything is set up correctly, the message should be routed to the queue and become available for consumption by consumers.
Conclusion
By following these step-by-step instructions, you can set up queues, define routing keys, and establish bindings in RabbitMQ to facilitate efficient message routing and communication between different components in your distributed system. Experiment with different configurations and routing strategies to optimize message delivery and enhance the performance and reliability of your messaging infrastructure.
